Ultimate Guide to Cookie Decorating Tools and Techniques

Embarking on the journey of cookie decorating can transform a simple baking project into an artistic adventure. Whether you’re looking to add a personal touch to your holiday gatherings or pursue cookie decorating as a creative outlet, the right tools and techniques are pivotal to achieving stunning results. This guide will walk you through everything you need to know about decorating cookies, from selecting the essential tools to mastering advanced techniques.
Essential Cookie Decorating Tools

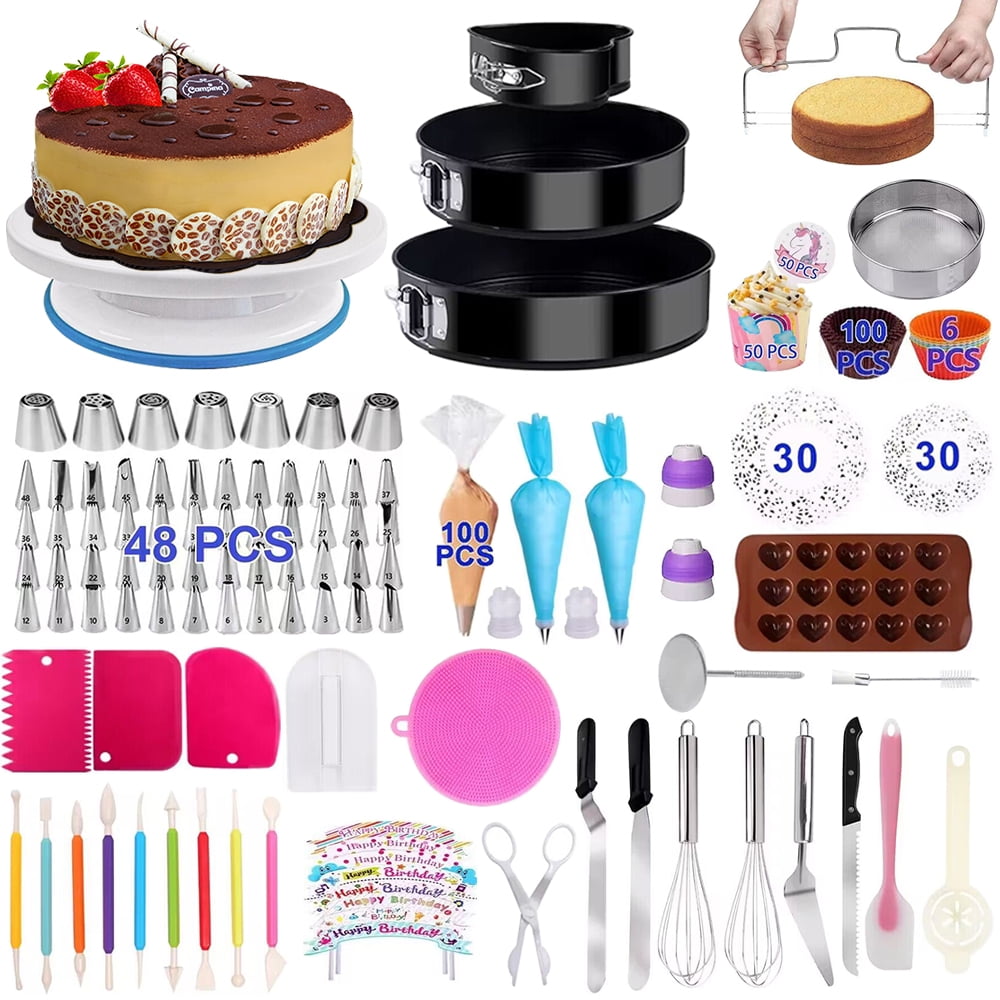
Starting with the basics, here are the must-have tools for any cookie decorator:
- Cookie Cutters - A variety of shapes for different themes.
- Rolling Pin - Preferably with thickness guides for uniform cookies.
- Parchment Paper - For easy transfer and cooling.
- Offset Spatula - For spreading icing smoothly.
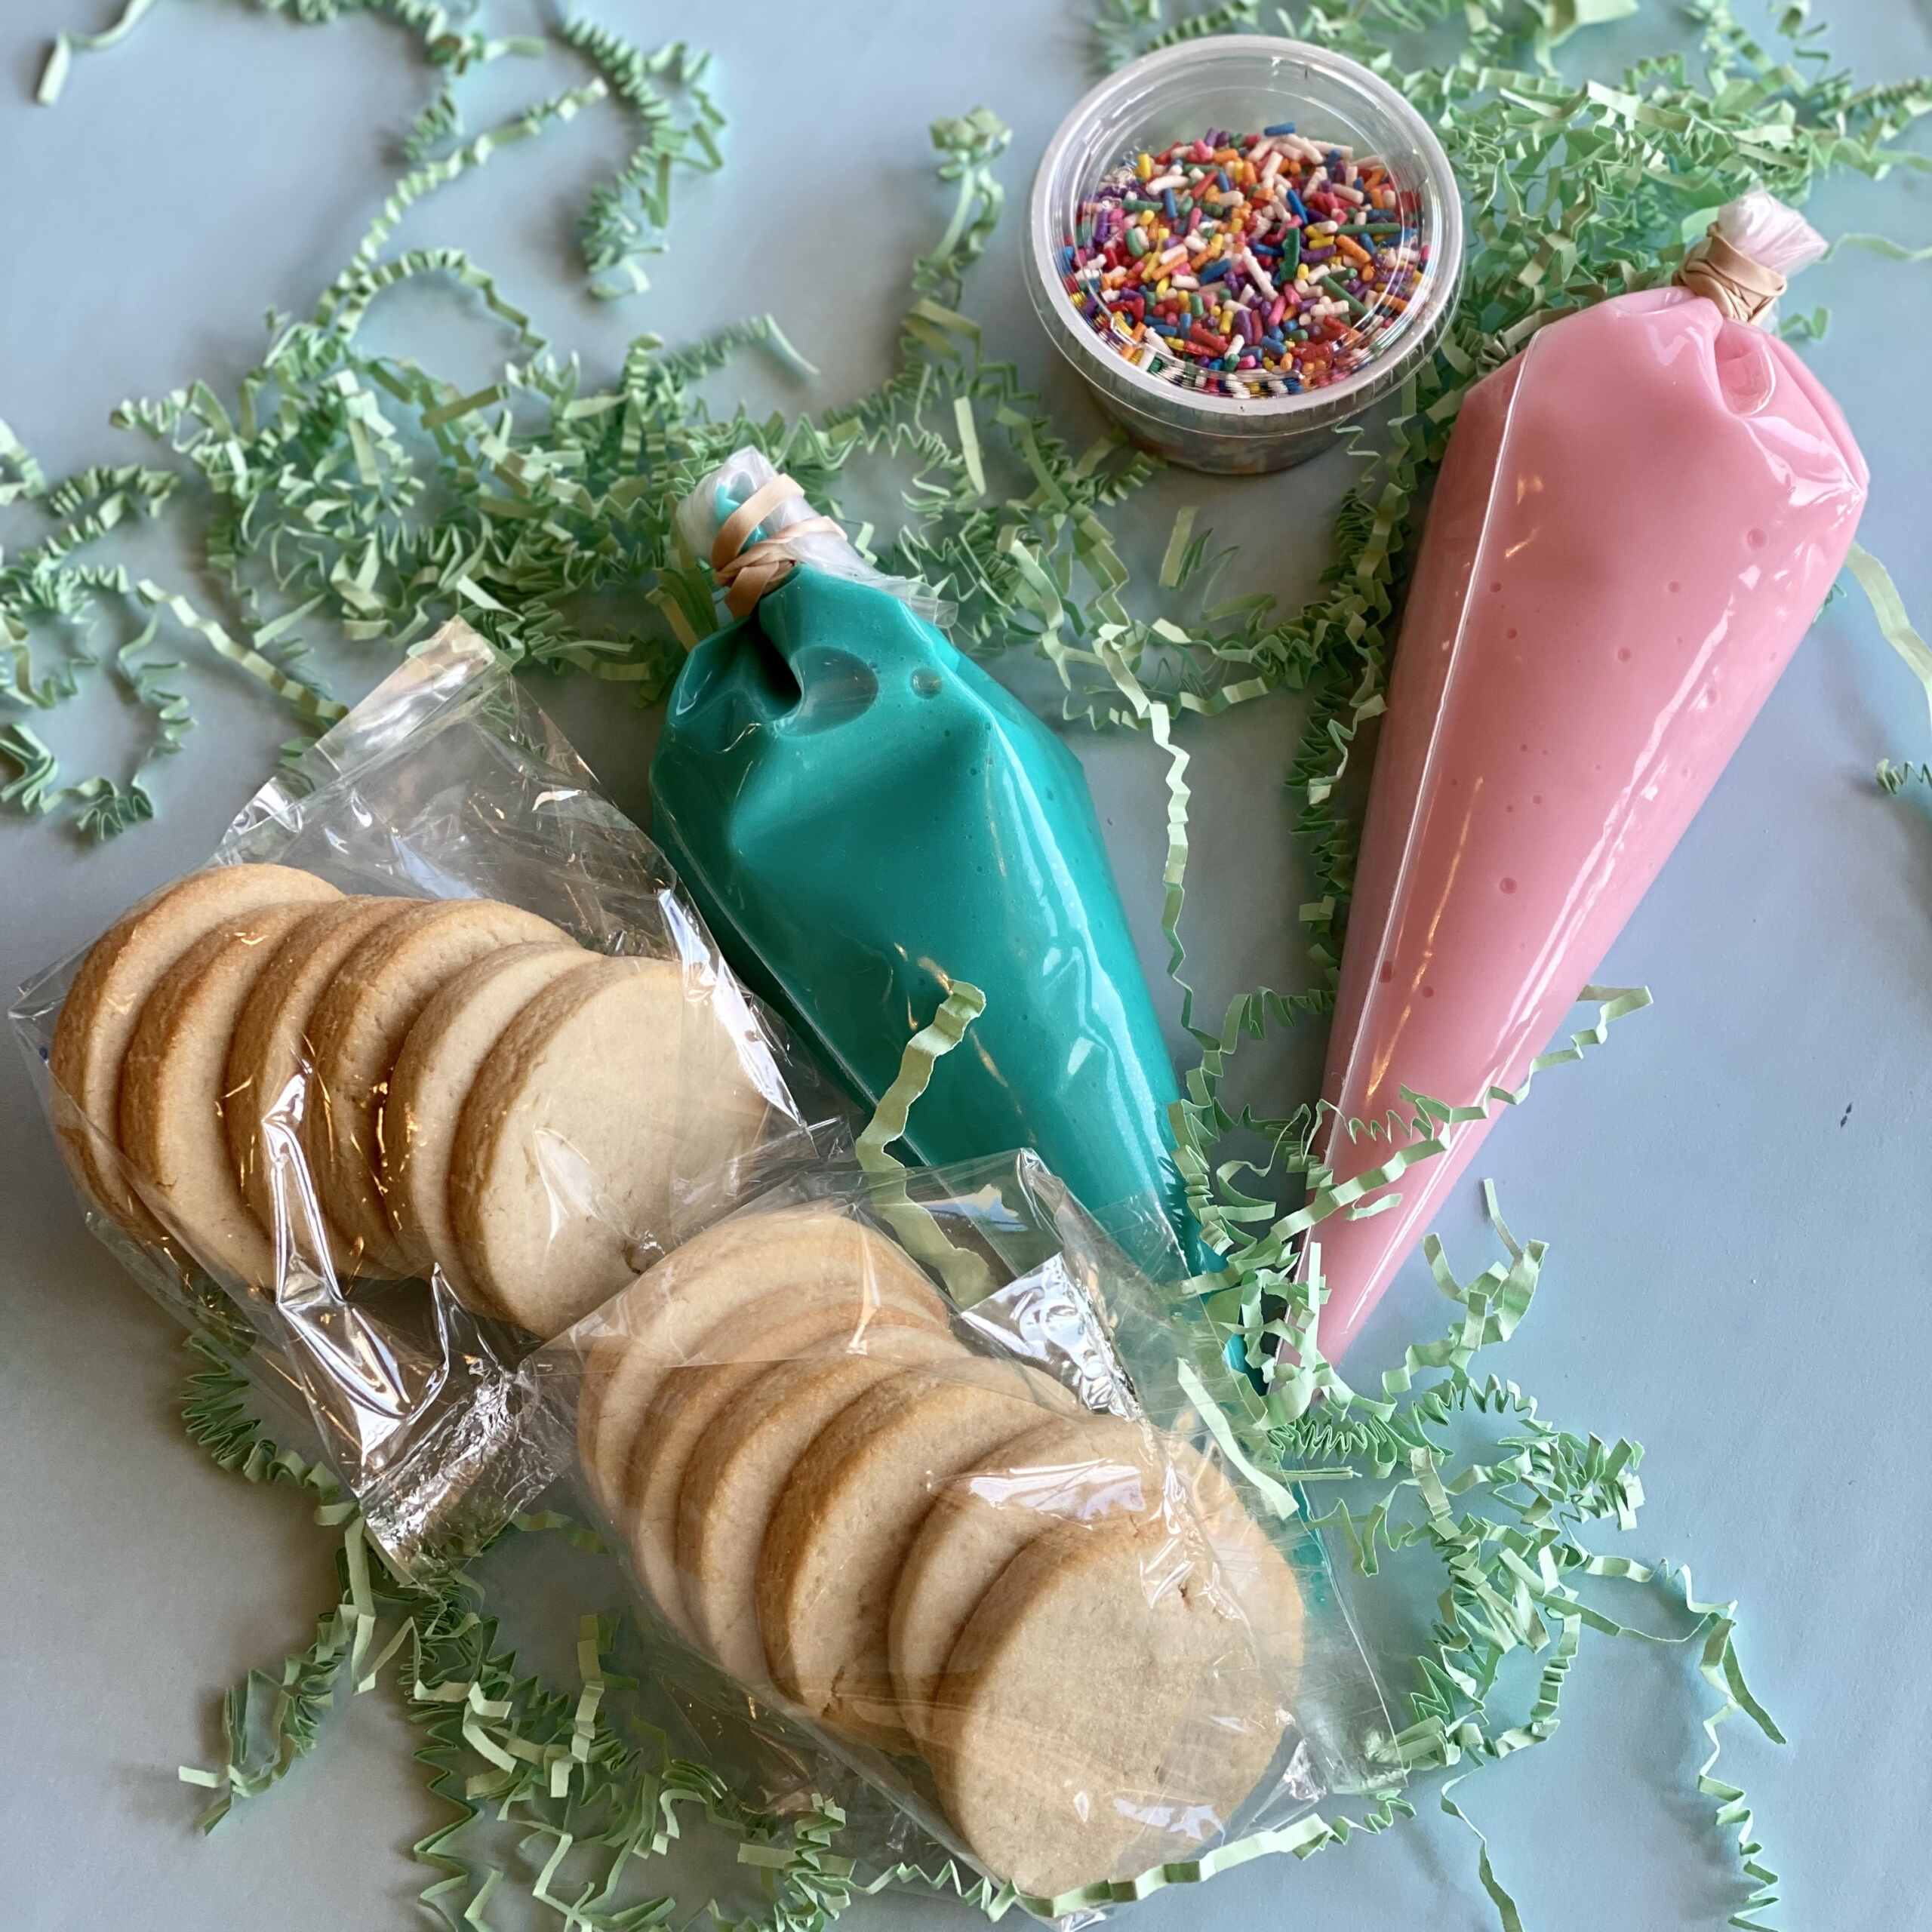
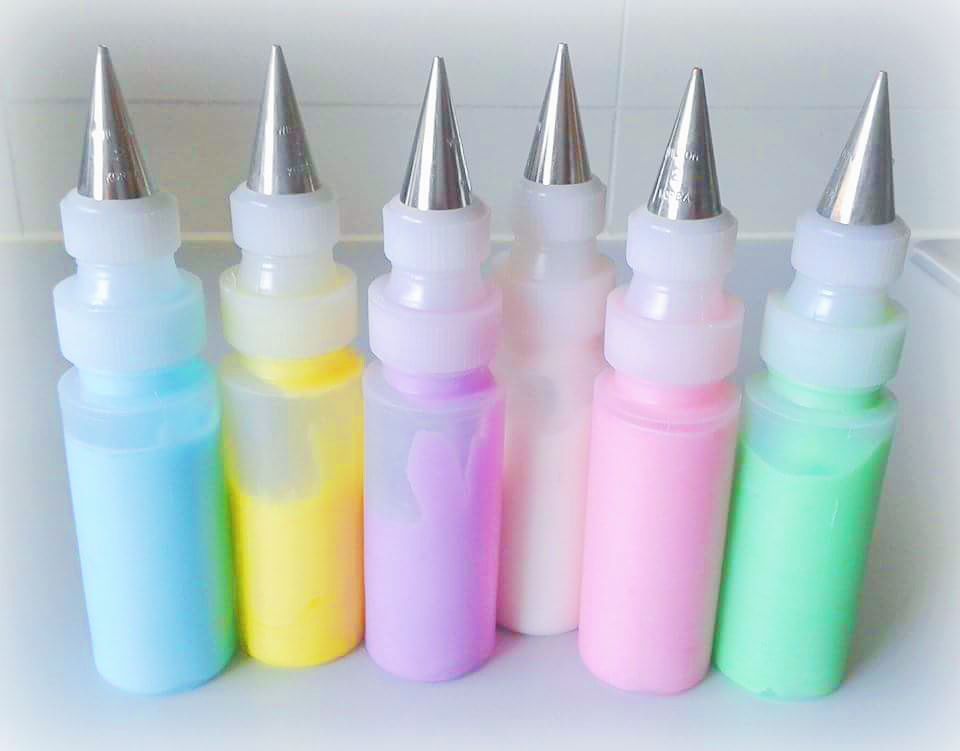
- Piping Bags - Reusable or disposable, paired with couplers.
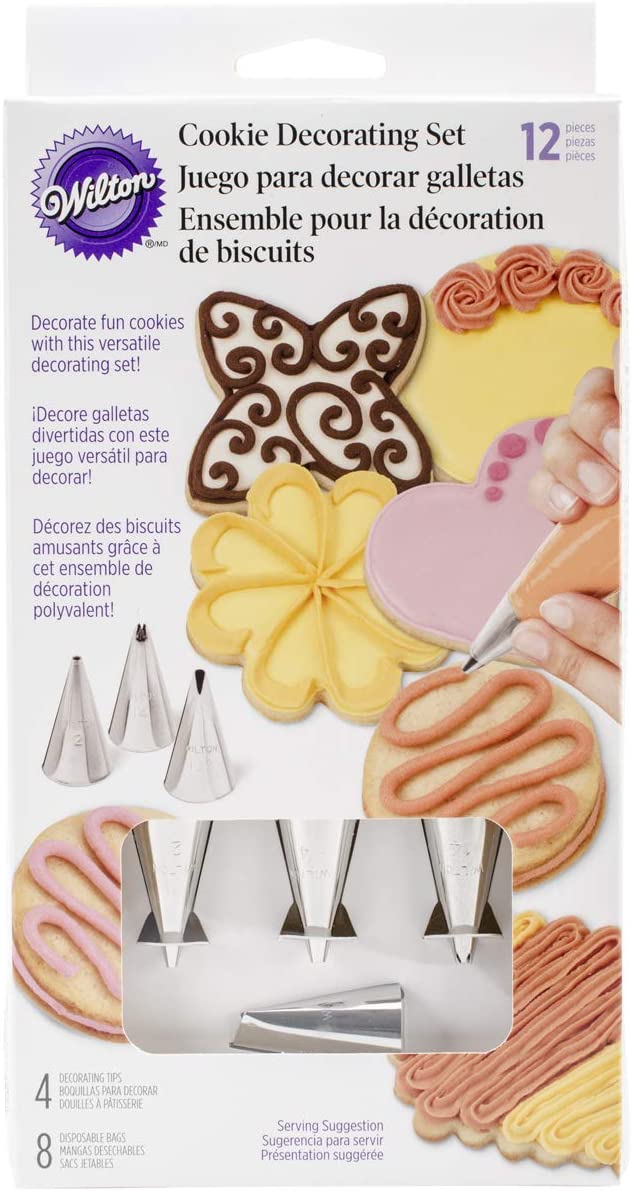
- Piping Tips - A set with various sizes for outlining and details.
- Food Coloring - Gel or paste for vibrant colors.
- Royal Icing - The primary medium for most cookie designs.
🍪 Note: Always practice on a piece of parchment paper before applying icing to your cookies to get the consistency right.
Preparing Your Cookies for Decorating
Before you can start decorating, you need a well-prepared canvas:
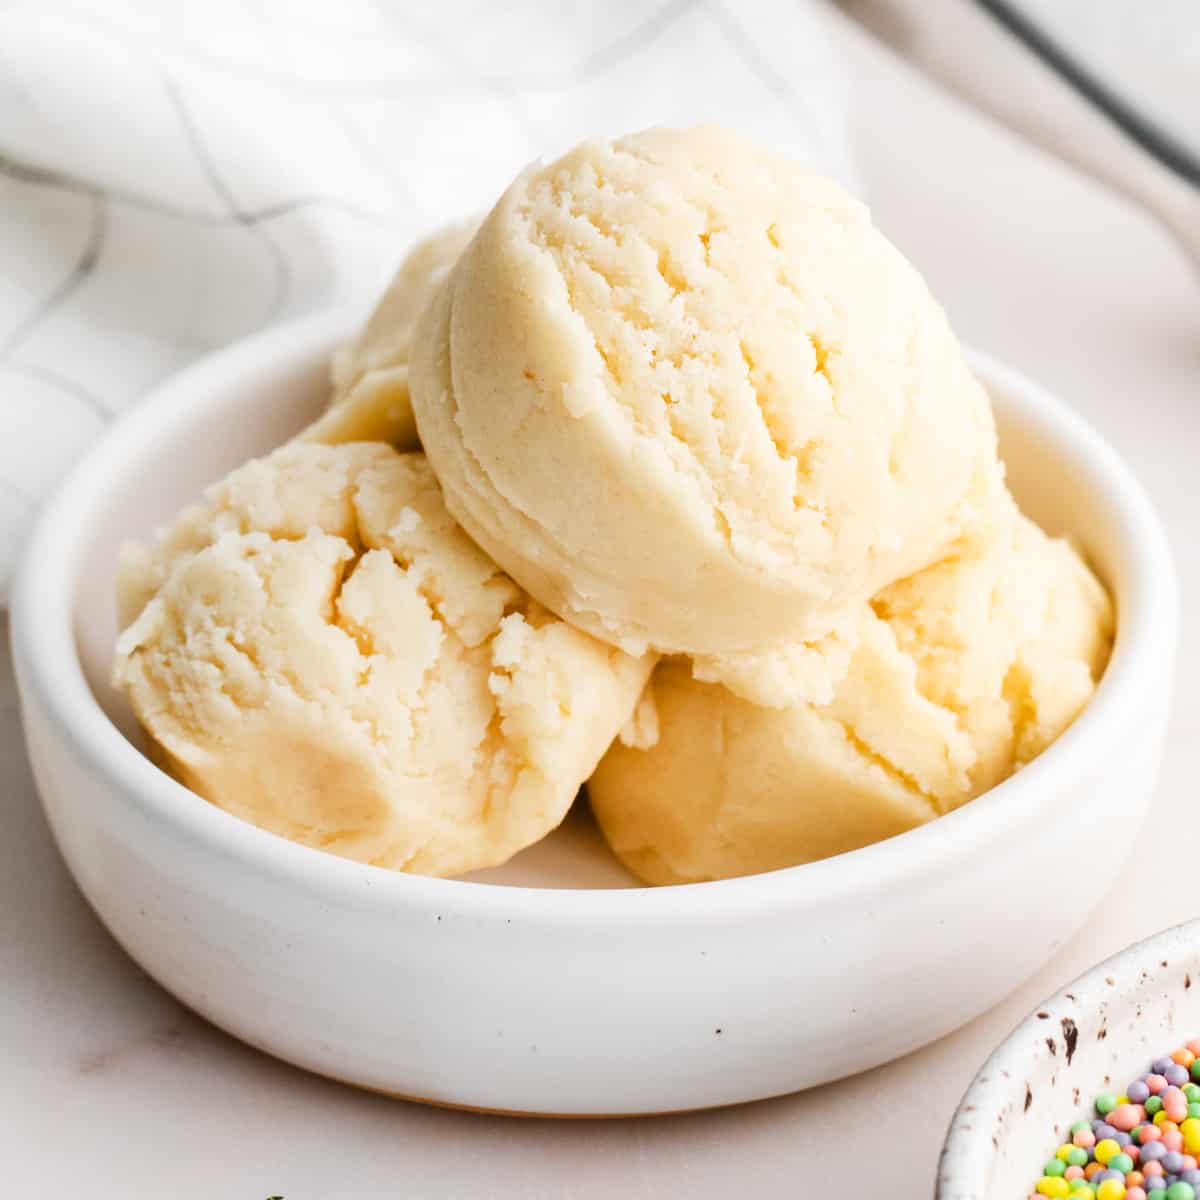
- Dough Preparation: Ensure your cookie dough is chilled for easier rolling and cutting.
- Baking: Bake until the edges are just set, avoiding overbaking to prevent browning which can affect the color of icing.
- Cooling: Allow cookies to cool completely on wire racks to ensure that any moisture has evaporated.
Royal Icing Techniques
Royal icing is the cornerstone of cookie decorating. Here are some foundational techniques:
Flooding

After outlining the shape of the cookie, use a thinner icing to fill or “flood” the interior. This creates a smooth, even base for further decoration.
Wet-on-Wet Technique
Add details to wet icing by introducing a contrasting color or design directly onto the base color before it dries. This creates a seamless blend of colors.
Piping
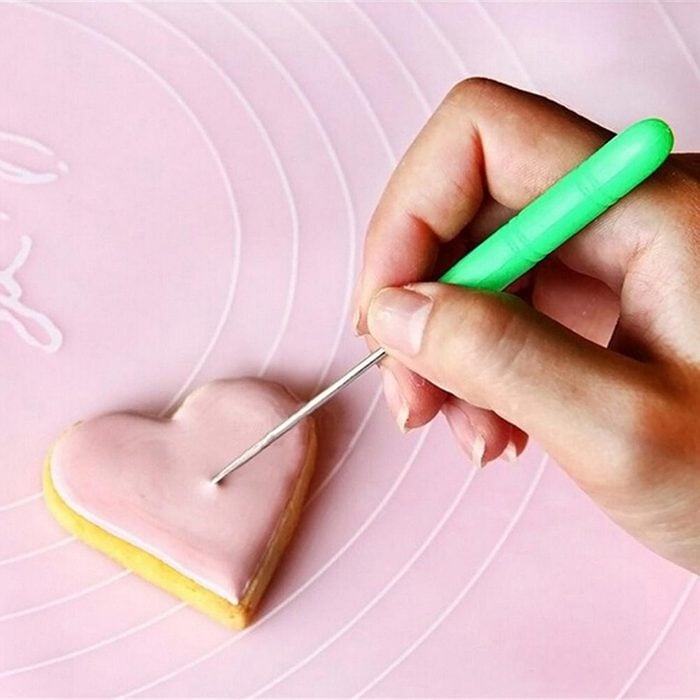
With thicker icing, you can create outlines, fine lines, and intricate designs. Here are some pointers:
- Use a coupler to easily change piping tips.
- Hold the bag at a 45-degree angle for best control.
- Practice control with consistent pressure.
Advanced Techniques

Once comfortable with the basics, you might explore:
Stencils

Stencils allow for crisp designs and patterns:
- Secure the stencil over the cookie.
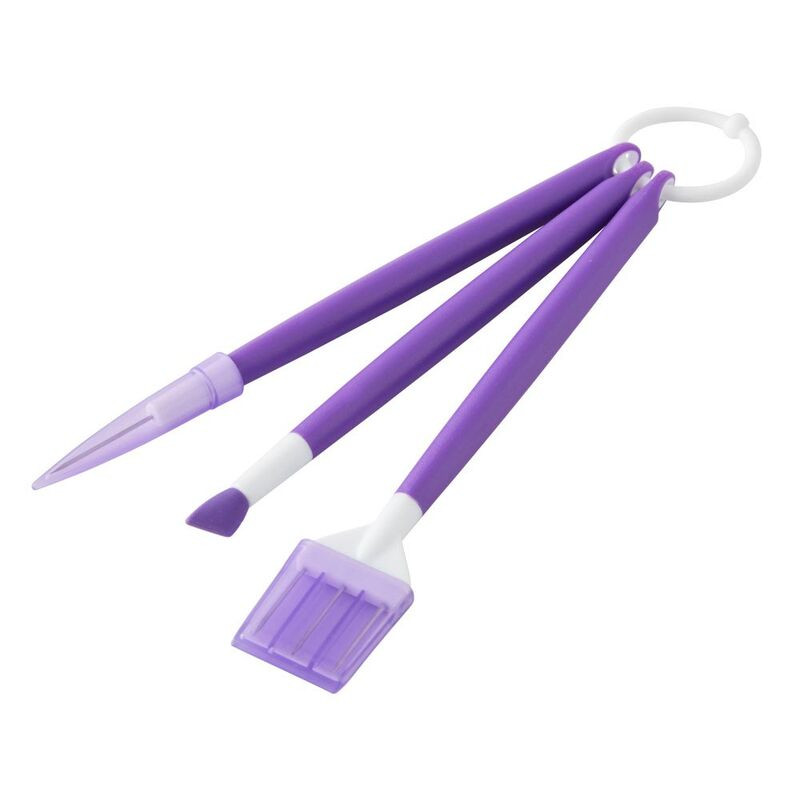
- Use a small spatula or brush to apply thick icing over the stencil.
- Immediately lift the stencil to reveal the design.
Brush Embroidery
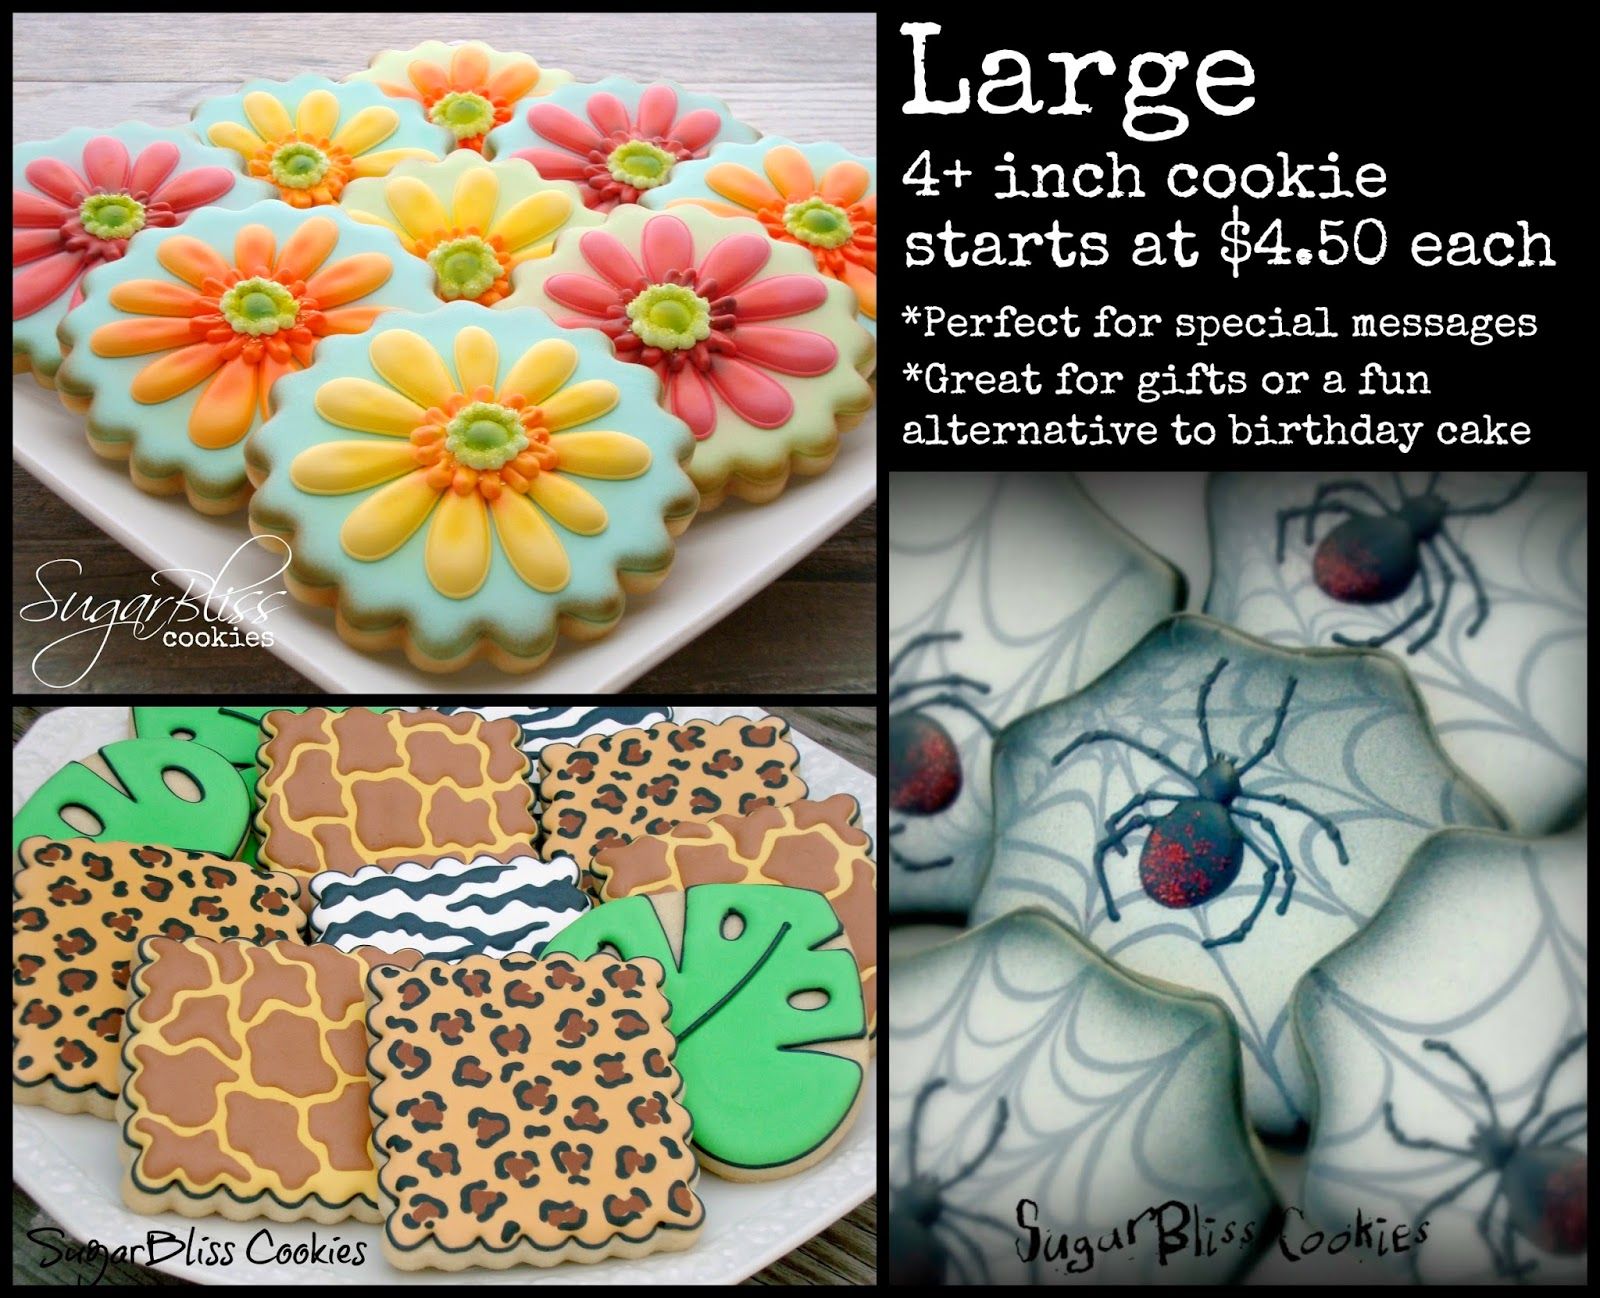
This technique mimics the look of traditional embroidery on your cookies:
- Pipe a design onto the cookie with thick icing.
- While the icing is still wet, pull a damp brush through it towards the center or along the design.
🧵 Note: For brush embroidery, use white or very light icing on darker colors to mimic the look of thread on fabric.
Painting on Cookies
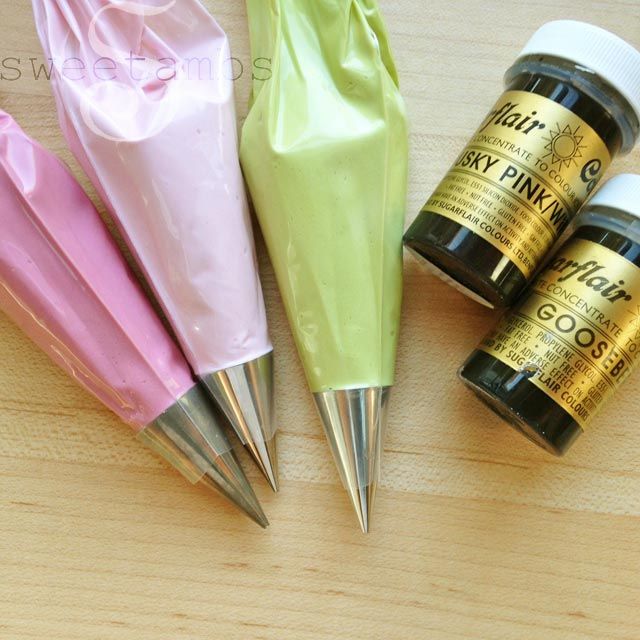
You can add depth and detail by painting onto the icing:
- Use food-safe paintbrushes.
- Edible paint or a mix of gel color with a little vodka or Everclear for quick-drying paint.
Finishing Touches

To elevate your cookie decoration:
- Add edible glitter or luster dust for shimmer.
- Experiment with edible markers or pens for fine details.
- Consider using other mediums like fondant, dragees, or edible paper.
To summarize our journey through the world of cookie decorating, we’ve covered the essential tools you'll need to get started, from cookie cutters to various piping tips and royal icing. We've delved into techniques from basic flooding to advanced methods like stenciling and brush embroidery, and even explored the artistic potential of painting on cookies. Each tool and technique not only enhances the aesthetic appeal of your cookies but also allows for personal creativity, making every batch unique. Remember, mastering these skills takes time and practice, but the result is always delightful and visually rewarding.
Can I use buttercream icing for decorating cookies?

+
Buttercream can be used, but it doesn’t harden like royal icing, which makes it less ideal for intricate designs. Royal icing dries to a hard finish, making it perfect for stacking and detailed work.
What’s the best way to store decorated cookies?
+
Once completely dry, store cookies in an airtight container at room temperature for up to 2 weeks. Place parchment paper or plastic wrap between layers to prevent sticking.
How do I fix icing mistakes?

+
Use a toothpick or a small paintbrush to carefully remove or correct any icing errors while it’s still wet. If dried, sand it with fine sandpaper or cover with a fresh layer of icing.
What are the best food colors for vibrant icing?
+
Gel or paste food colorings offer more vibrant colors than liquid ones as they are more concentrated and less likely to thin out the icing consistency.
How long does royal icing take to dry?
+
Royal icing can take anywhere from several hours to overnight to dry completely, depending on humidity and thickness of the icing.
