The Best Time to Create Fondant Cake Decorations

Are you looking to elevate your cake designs with stunning fondant decorations? Whether you're a professional baker or a home cake enthusiast, creating fondant decorations can be both a fun and artistic journey. But when should you start crafting these delicate pieces to ensure they're perfect for your cake? In this post, we'll dive into the best practices for timing your fondant decoration creation to align with perfection for your event.
Understanding Fondant

Before we proceed, let’s understand what fondant is. Fondant is a type of icing used to decorate cakes, sculpted into various shapes, figures, or even covering entire cakes for a smooth, polished look. It comes in a variety of colors and has a smooth texture when rolled out. However, fondant decorations need time to dry and firm up for stability:
- Commercially Made Fondant: Typically easier to work with right out of the packet and dries faster.
- Homemade Fondant: Requires more time to set and can be more temperamental due to its natural ingredients.
Why Timing Matters

The key to perfect fondant decorations lies in timing:
- Shape Retention: Fondant needs to dry to maintain its shape, especially if it includes detailed designs or is meant for delicate figures.
- Transport and Assembly: Allowing fondant decorations to set reduces the risk of damage during transport or assembly.
- Environmental Factors: Humidity, temperature, and even the composition of the fondant (oil, glycerine content) affect drying time.
Creating Fondant Decorations in Advance

Here’s a breakdown of the ideal timeframe to create different types of fondant decorations:
Simple Decorations

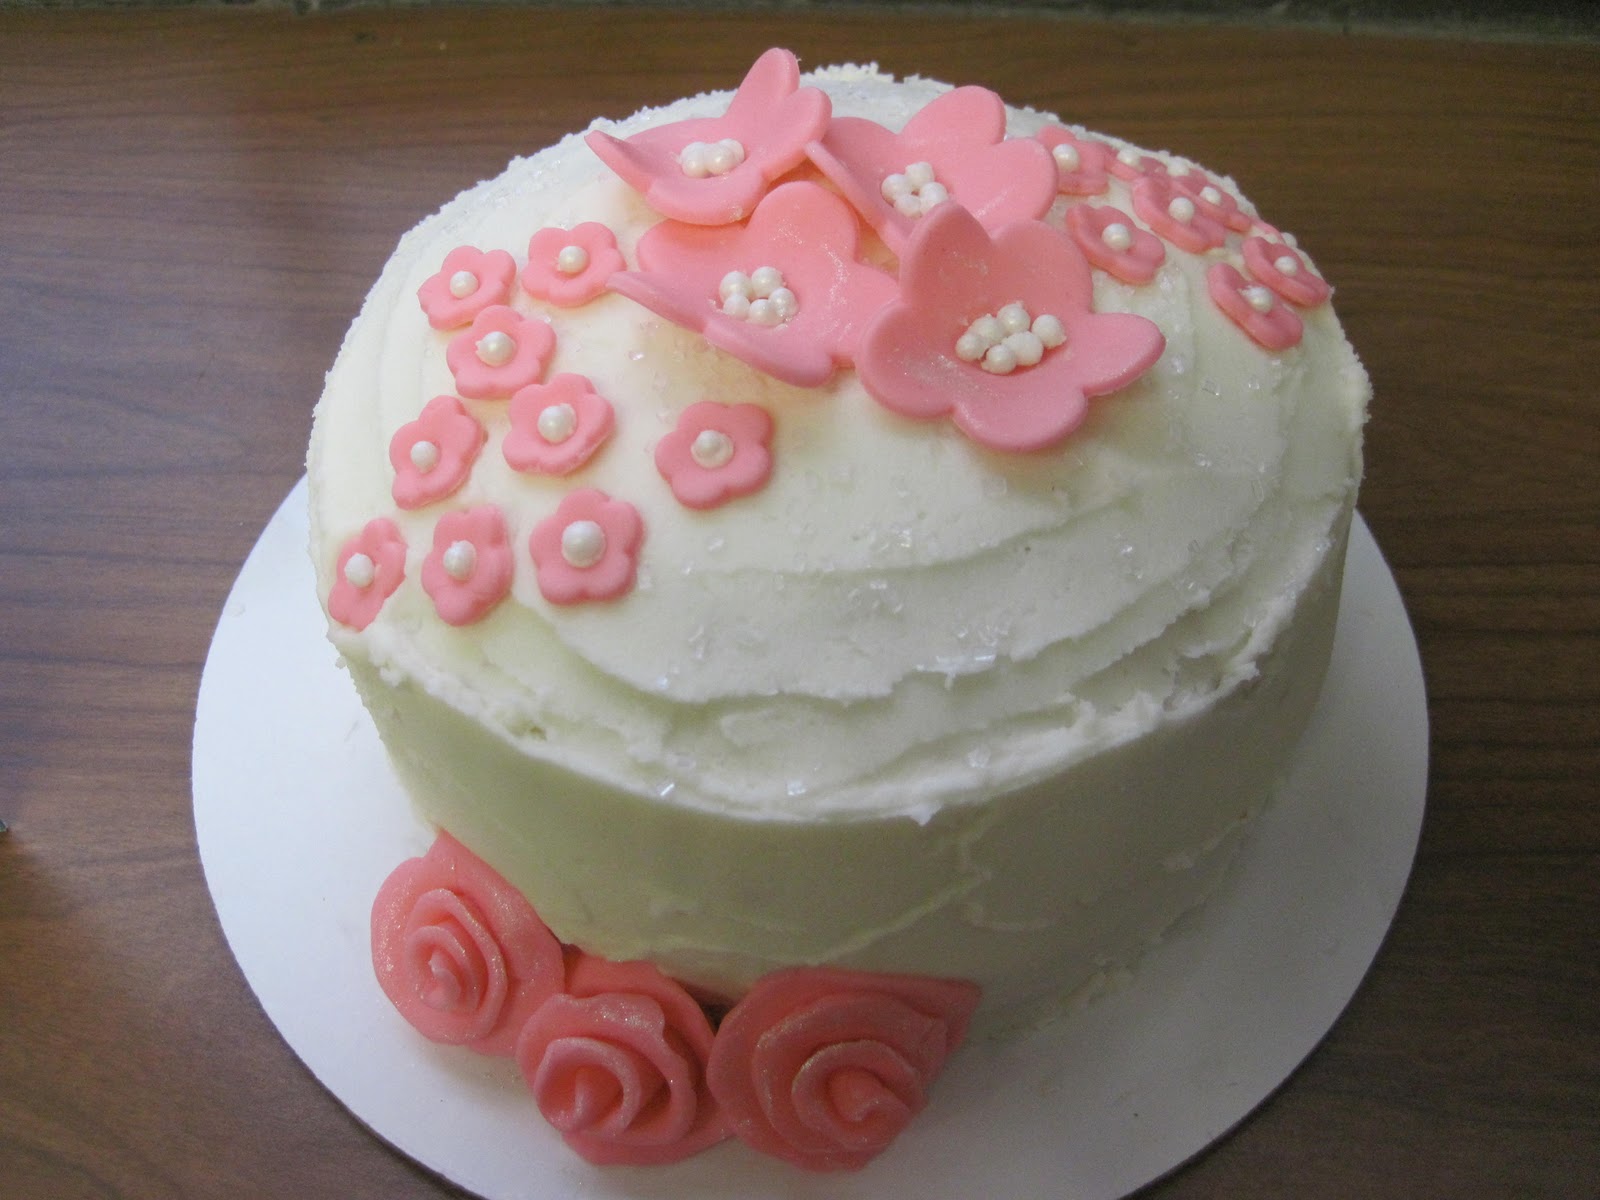
- Flat Designs: Items like flowers, stars, or hearts can be made 2-3 days in advance. They dry relatively quickly and can be stored safely.
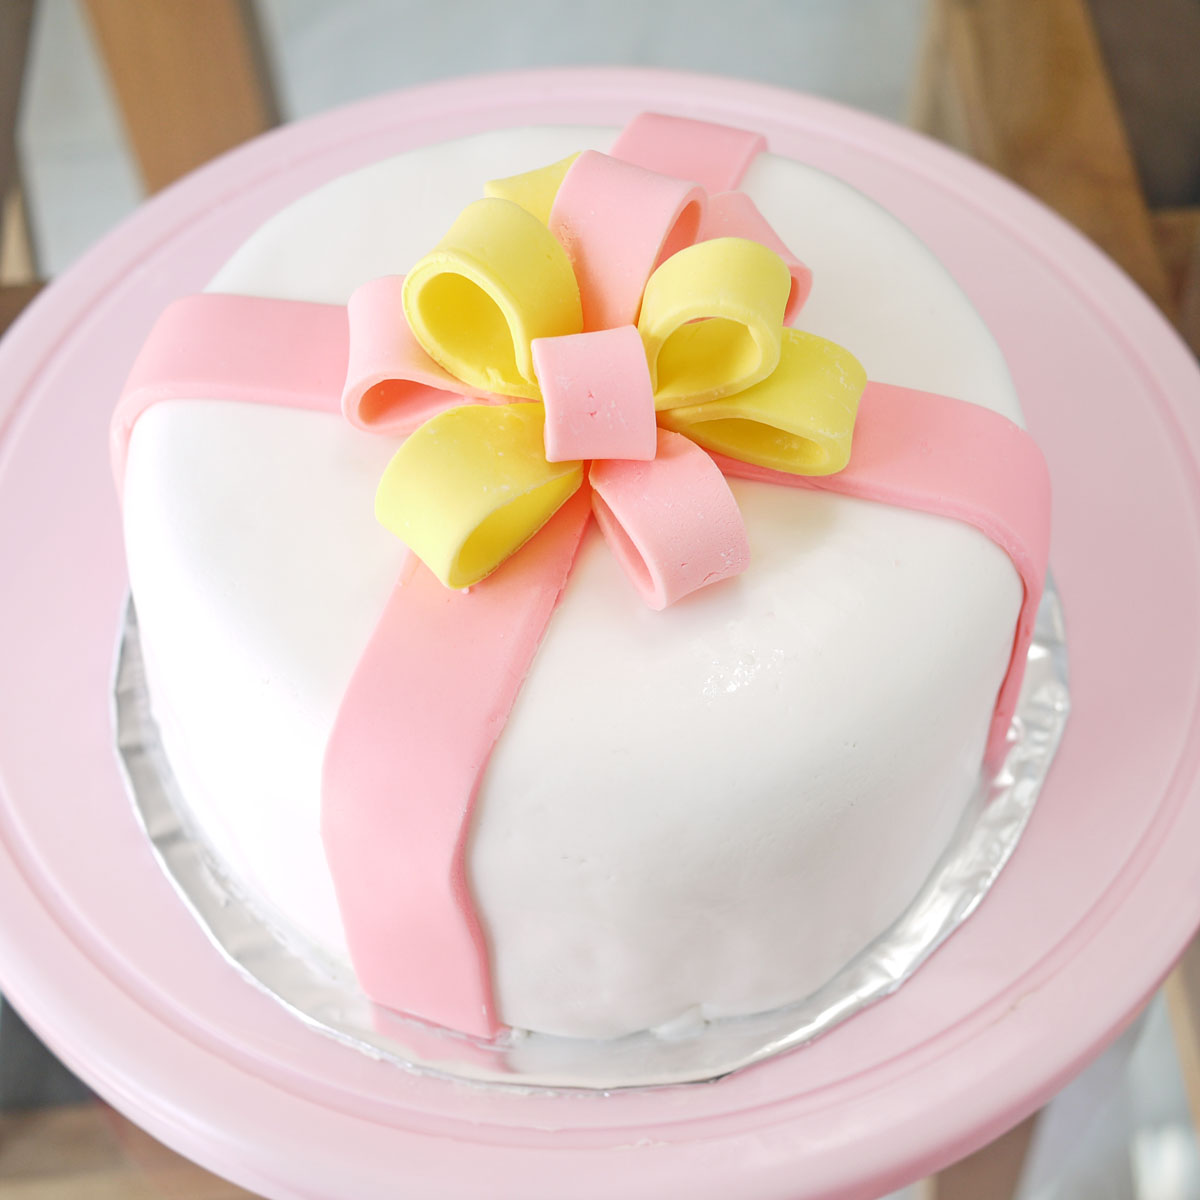
- Thin Ruffles or Bows: These should also be made 2-3 days before your event, as they tend to droop if not firm enough.
Complex or Delicate Figures

- Characters or Edible Sculptures: These can take up to 1 week to dry completely due to their 3D nature. They might need additional support.
- Molded or Detailed Pieces: It’s best to allow at least 4-7 days for drying to ensure no breakage when handling or assembling.
Timing Based on Environment

- In Humid Conditions: Allow extra drying time or use aids like corn starch or talcum powder to absorb moisture.
- Dry or Cool Climates: Fondant dries faster, but keep an eye on it to prevent cracking.
- Cold Storage: If you plan to refrigerate decorations, do so only after they are dry to prevent condensation damage.
The Right Time to Begin

To determine the optimal start time for your fondant decorations, follow these steps:
- Assess Your Design: Determine the complexity and size of your decorations.
- Plan for Drying: Simple decorations might only need a couple of days, while intricate pieces will need at least a week.
- Consider the Event Date: Work backward from your event, allowing time for drying, storage, and potential fixes.
- Check Environmental Conditions: Consider the weather in your region or the climate control in your workspace.
Storing Fondant Decorations

Once your decorations are ready:
- Dry Storage: Store in an airtight container, using tissue paper or parchment paper to prevent sticking.
- Temperature Control: Keep at room temperature if possible to avoid moisture from condensation.
- Support Structures: For delicate pieces, use dowels or toothpicks for support during drying.
💡 Note: Always check on your fondant decorations before assembly. If any have not dried properly or are damaged, you’ll have time to fix or remake them.
Alternative Timing Strategies

If time is a constraint, here are alternative strategies:
- Gum Paste: Use gum paste instead of fondant for quick-drying, delicate decorations.
- Edible Sprays or Dusts: These can harden fondant quicker or add shine, potentially reducing drying time.
- Working in Stages: Create some decorations in advance and others closer to the event if they’re simpler.
Final Touches

When it’s time to assemble your decorations onto your cake:
- Prepare Your Surface: Lightly dust the cake with corn starch to help decorations adhere.
- Steady Hands: Use a steady hand or tools like tweezers for delicate placements.
- Brush On Edible Glue: Use edible glue or water to fix fondant to cake surfaces.
Creating fondant cake decorations is an art form that requires patience, skill, and an understanding of timing. By planning your creation schedule according to the complexity of your designs and environmental factors, you ensure that your fondant decorations will look their best when it's time to unveil your masterpiece. Whether you're making flat pieces or intricate 3D figures, the key is to start early, allowing ample time for the decorations to dry, store, and maintain their integrity. Remember, the most beautiful cakes are often those where every detail, from the timing to the decoration, has been meticulously planned and executed.
How long does it take for fondant decorations to dry?

+
It depends on the thickness and complexity of the decoration. Flat decorations can dry in 2-3 days, while intricate or thick pieces might take up to a week.
Can I speed up the drying process of fondant?

+
Yes, using a fan, placing decorations in a dry, cool environment, or using edible sprays can help accelerate drying time.
What’s the best way to store fondant decorations?

+
Store them in an airtight container at room temperature, using parchment paper or tissue to separate layers and prevent sticking.


